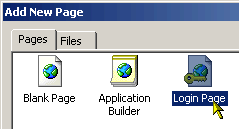
A necessary prerequisite to the implementation of any security within a project is the creation of a login page to authenticate users. To create a security login page, select the File | New | Page... menu option from the CodeCharge Studio menu. Then in the Add New Page window, select Login Page.
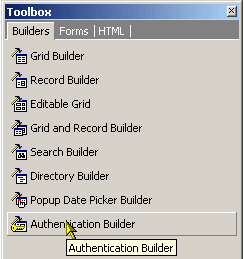
If you want to add a login form to an already existing page, you can use the Authentication Builder to create the form within the page. Once you have a login page in the project, you can move on to configuring the project security settings.
To setup security for a project, you need to specify the database table and fields that contain the user information. This is done using the Security and Security Groups tabs of the Project Settings windows.
In the Security tab, you have to specify the database table that contains the user details as well as the fields within the table that contain particular information. This information includes:
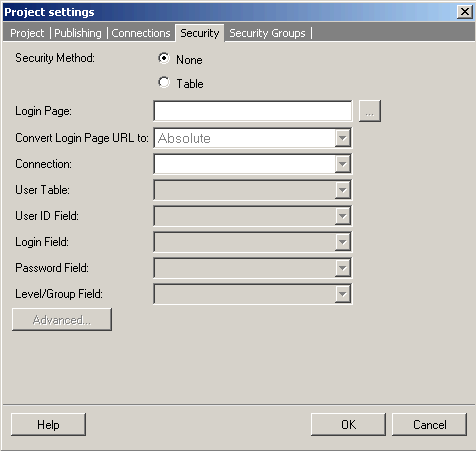
When the project pages are published and viewed by a user, the authentication mechanism sets session variables that hold the identity of the user after successful authentication. You can configure the names of the session variables by clicking on the "Advanced..." button to open the Advanced Security Settings window.
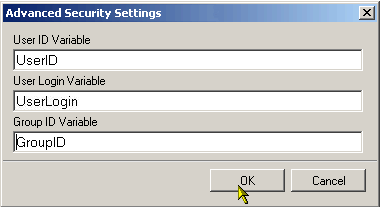
By default, session variables are created for the User ID Variable, User Login Variable and Group ID Variable only. If other session variables are to be used you need to write ńustom code for them. Please see the Create Custom Session Variables example.
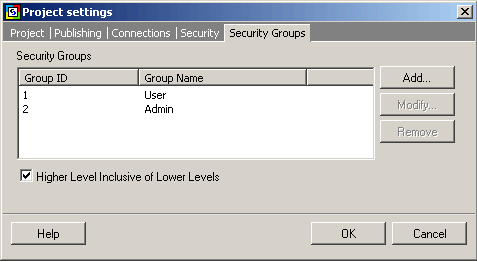
If the site users are categorized into different groups, you can use the Security Groups tab to setup group ID's and names. The Group ID values should correspond to the database field that specifies the group to which each user belongs.
The group ID's are setup in a hierarchical manner such that users with a higher group ID have more security clearance than users with a lower ID. If this is the case, you can check the Higher Level Inclusive of Lower Levels checkbox so that users with a higher group ID can access all the pages that are accessible by users with a lower group ID.
You can uncheck the Higher Level Inclusive of Lower Levels checkbox if you want each group ID to be strictly allowed to access pages designated for that group only. In this case, a user with a group ID such as 3 will not be able to access a page designated for any other group ID.
You can specify the users who are allowed to access a page by using the Restricted property of the page in the page Properties window. When the Restricted property is set to No, all users can access the page without having to login.
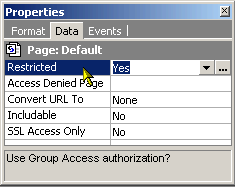
If the Restricted property is set to Yes, you can use the [...] button next to the property to further specify the groups that are allowed to access the page.
The Page Security Groups window shows the various groups that are currently setup and allows you to specify which groups should be able to access the page. For instance, users belonging to the Admin group can access the page but not users belonging to the User group. You can also click on the Groups... button to add new groups.
Apart from setting security at the page level, you can also set form level security. This is done using the Restricted property of the form.
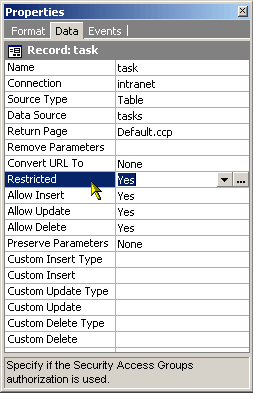
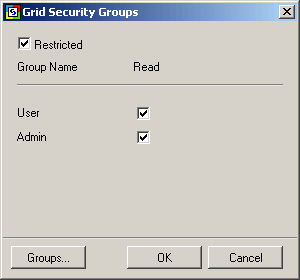
Use the [...] button next to the Restricted property to set the groups that should be allowed to access the form. The extent to which the groups can be configured depends on the type of form. For a grid form, you can determine which groups will be able to view the contents of the form using the dialog
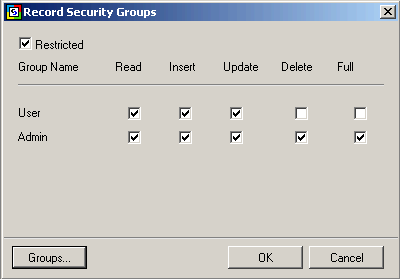
In the case of record forms, you can set group access based on the different operations that can be performed in a record form. The four operations are Read, Insert, Update, and Delete. A group with Full access is able to perform all the four operations.
When setting security at the form or the page level, note that giving access to all groups is not the same as not setting any security at all. If all groups have access, each member of the groups is still required to login. This means that people who are not registered in the database will not be able to access the form or page.