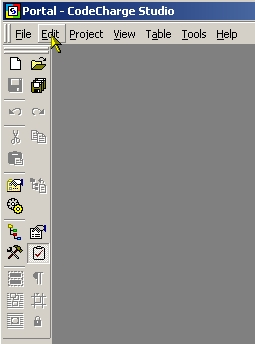
The title bar contains the name of the application (i.e., CodeCharge Studio) as well as the name of the currently open project. The right end of the title bar also contains buttons that can be used to minimize, maximize, or close the application window.
The menu bar features seven drop-down menus (i.e., File, Edit, Project, View, Table, Tools and Help). Each of these menus contains a series of options that carry out various functions when clicked. Notice that the main menu names as well as some of the sub-menus have an underlined letter. This is indication that that menu can be executed using a short-cut key combination by pressing the Ctrl key together with the underlined letter.
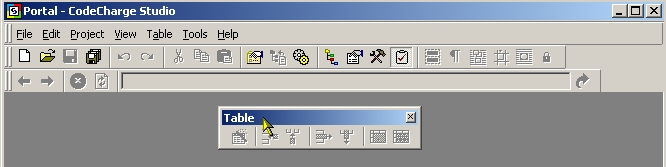
The toolbar provides quick access to many of the commonly used commands that are available in the menu bar. If you are concerned about screen space, you can use the View menu in the menu bar to hide some or all of the toolbars. Each of the toolbars can be dragged and docked on the top, left or right sides of the application window.

You can also drag the toolbars away from the sides of the application window and in so doing create a floating toolbar.
The following is a description of the commands available in the different toolbars.
| Command | Description | Short-cut |
|---|---|---|
 |
Create a new Page | Ctrl + N |
 |
Open an existing Page | Ctrl + O |
 |
Save the current page | Ctrl + S |
 |
Save all changes made in multiple documents | |
 |
Undo the last action | Ctrl + Z |
 |
Redo the last action that was undone | Ctrl + Shift + Z |
 |
Cut the current selection and place it in the clipboard | Ctrl + X |
 |
Copy the current selection to the clipboard | Ctrl + C |
 |
Paste the current contents of the clipboard | Ctrl + P |
 |
Open the Project Settings window | |
 |
Synchronize code to reflect changes made | |
 |
Publish the project | F9 |
 |
Publish the current page | F8 |
 |
View page in the Live Data mode | F10 |
 |
View the Project Explorer window | |
 |
View the Properties window | |
 |
View the Toolbox | |
 |
View the Message window | |
 |
Show borders | |
 |
Reveal paragraph and new-line tags | Ctrl + / |
| Command | Description |
|---|---|
 |
Open the Insert Table window |
 |
Insert a row above the current row |
 |
Insert a column before the current column |
 |
Delete the current row |
 |
Delete the current column |
 |
Move Column Left |
| Move Column Right |
| Command | Description |
|---|---|
 |
Select a format for the currently selected text |
 |
Select a font |
 |
Select a font size |
 |
Convert the selected text to bold typeface |
 |
Convert the selected text to italics typeface |
 |
Underline the selected text |
 |
Insert line numbers |
 |
Insert bullets |
 |
Decrease indentation |
 |
Increase indentation |
 |
Left align |
 |
Center align |
 |
Right align |
 |
Select a font color for the current text |
 |
Select a background color for the current font |
| Command | Description |
|---|---|
 |
Align the position of the control to the closest grid line |
 |
Assign the current control an absolute rather than relative position |
 |
Fix the position of an absolutely positioned control |
| Command | Description |
|---|---|
 |
Navigate backwards |
 |
Navigate forwards |
 |
Stop the current operation |
 |
Refresh the current page |
 |
The URL of the current page |
 |
Go to the URL specified in the URL field |
The Insert Table dialog of Figure 10-5 accepts the parameters required to generate a table within an HTML document.

The parameters accepted are listed below:
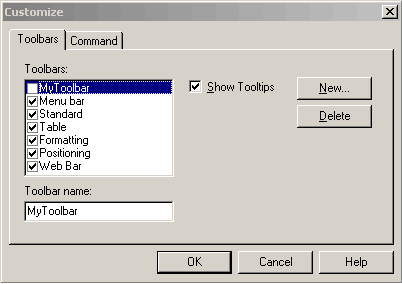
Under the Command tab you can:
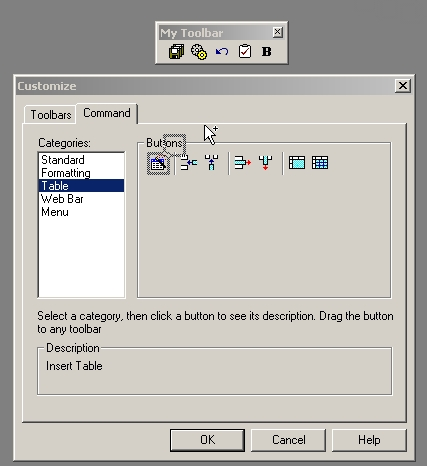
Figure 10-7: Command Customization