In the event that a current CodeCharge Studio installation is corrupted or otherwise damaged, you can run the same setup file to modify or repair the installation or remove it entirely. To initiate the process, double-click on the setup file to begin the process.
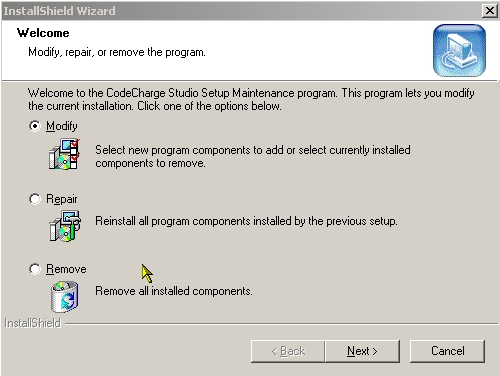
In the window select whether you want to Modify, Repair, or Remove the current CodeCharge Studio installation then click the Next button.
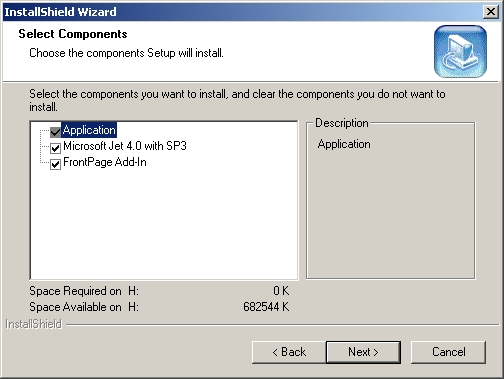
For the Modify option, you will be presented with a list of components that you can install or remove. To install a currently unavailable component, activate its respective checkbox. Similarly, to uninstall a component that is already installed, uncheck its checkbox. After making your selections, click the Next button to proceed.
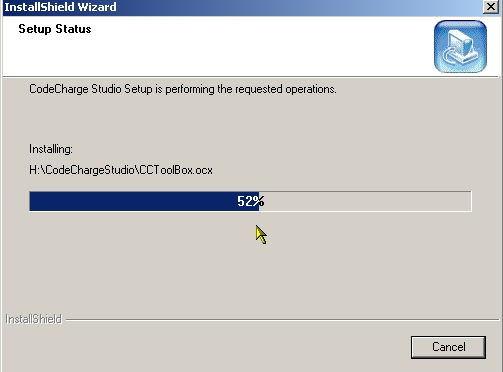
If you selected the Repair option, the wizard will now proceed to check the current installation and repair any problems that may be diagnosed while a dialog window shows the progress of the repair operation.
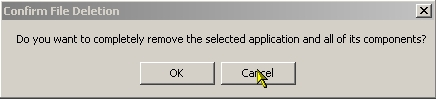
If you selected the Remove option, you will be presented with a dialog window asking you to confirm whether you want to proceed with the removal. At this point, you can either cancel and return to the main installation window or proceed with the un-installation.
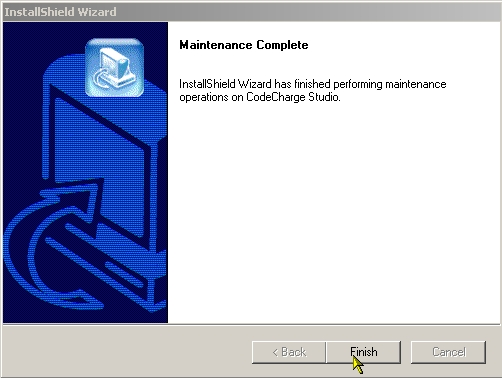
When all the operations have been completed successfully, a window appears to confirm the completion of the maintenance process. Click on the Finish button to close the dialog box.